

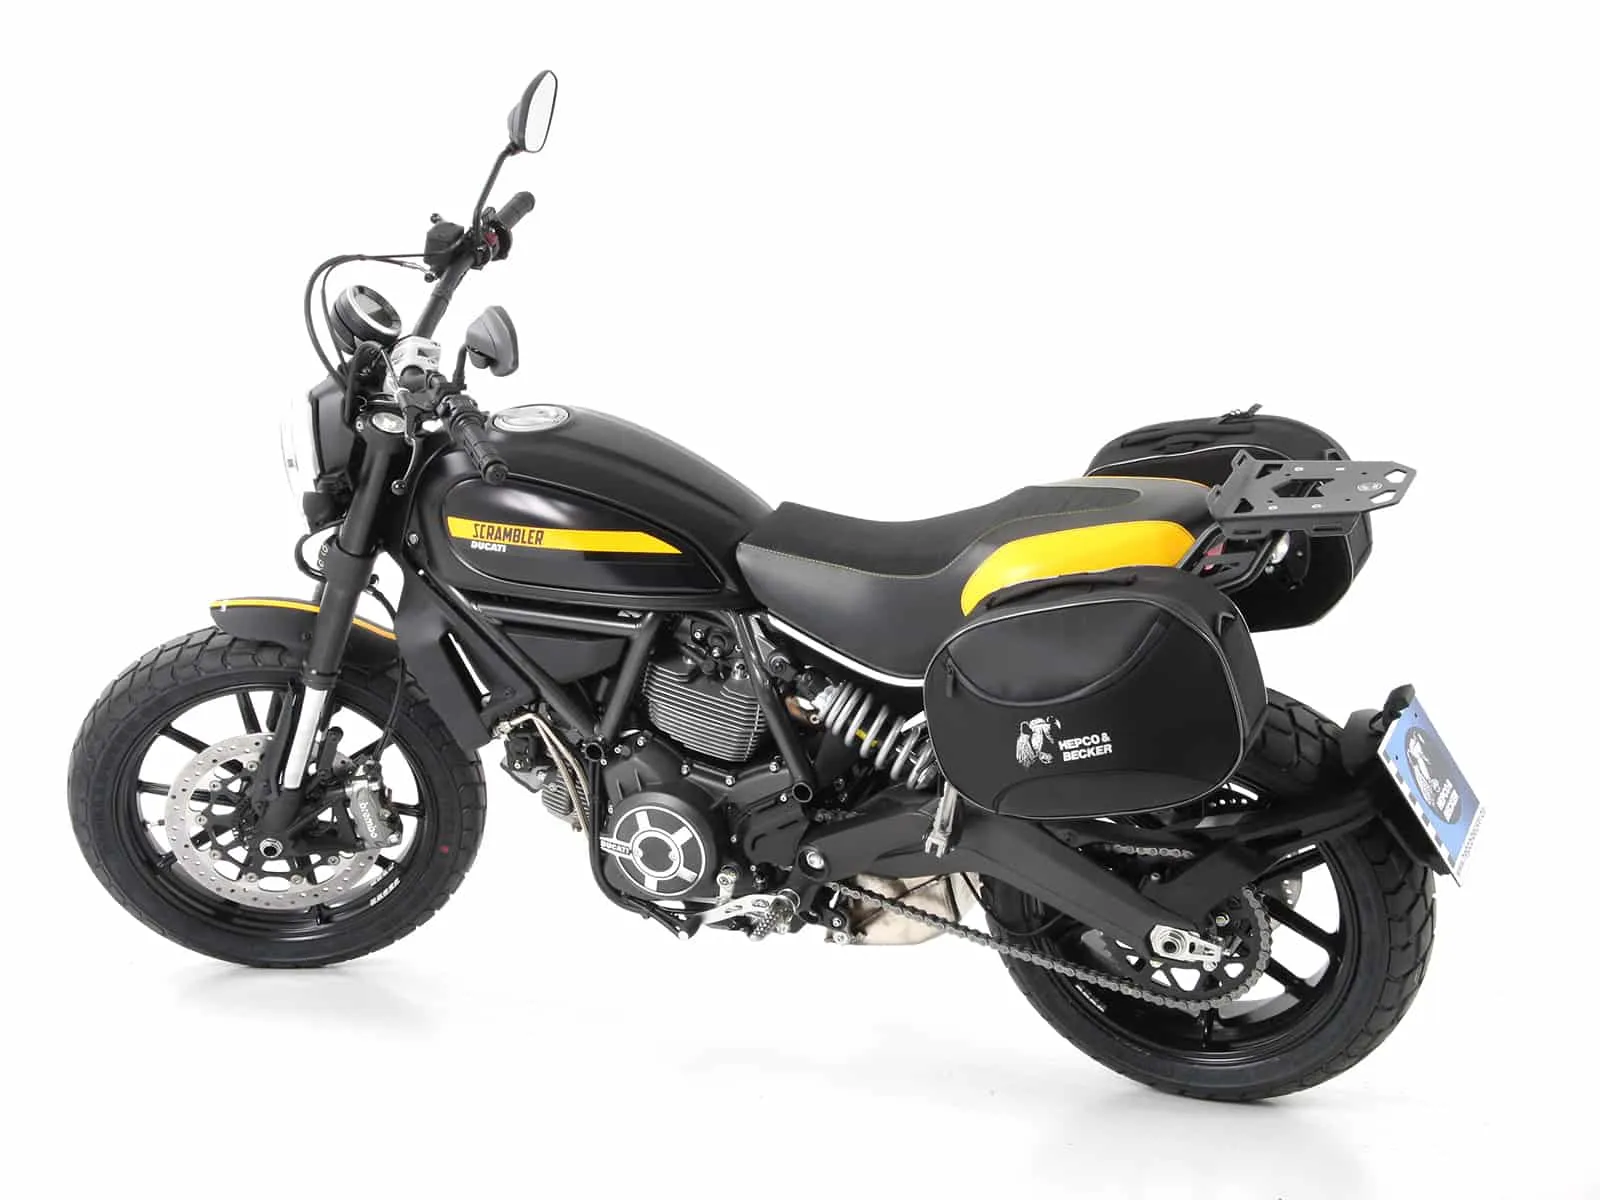
Before comparing Ducati accessories, write down the motorcycle sitting in your garage. Record its exact model, model year, trim, and every factory-installed item. A listing that fits one year or trim may not fit another because fairings, brackets, electronics, or mounting points can change between configurations. Match the accessory part number with the manufacturer’s fitment chart, then ask the seller to confirm compatibility before ordering online. Photos alone cannot confirm clearance, mounting points, or which hardware the box actually includes. Confirming the exact configuration first prevents a wrong purchase and avoidable return expense later. That small check protects both your budget and time.
Price the missing brackets before choosing protection
Listed prices can hide the hardware needed for a safe fit. Crash bars, engine guards, axle sliders, and skid plates may require brackets, spacers, fasteners, adapter plates, or a model-specific mounting kit. Ask whether the box includes every mounting piece, or only the main component. Protection areas can overlap, so identify the engine cases, axles, or underside you actually want covered before buying two products that solve the same problem. Then check clearance around the engine, exhaust, center stand where fitted, and routine service points. A parts check can prevent a second purchase and wasted fitting time. If tools or fitting experience are missing, request an installation quote before ordering, because labor and unexpected hardware can push the final cost well beyond the displayed accessory price.
Choose luggage by clearance, not by advertised capacity
Compare tank bags, tail bags, panniers, and top cases by the job: a tank bag for fuel access, a tail bag for light touring, panniers for weather-exposed commuting gear, and a top case for lockable daily storage. Before buying, check handlebar clearance at full steering lock, passenger room, exhaust heat, and rear-suspension travel under load. Hard luggage commonly needs a model-specific rack, while a universal bag may still require straps, adapters, or altered mounting points to stay secure. Measure twice. Rain exposure, parking security, and realistic Philippine commuting or touring conditions also affect which setup makes sense. Check whether fitting luggage makes seat removal, fuel access or battery access harder. A smaller bag can beat larger capacity when clearance, heat, and access matter.
Treat universal parts as a full installation project
Universal accessories can look cheaper until installation begins. A model-specific option may cost more, yet its intended mounting solution can remove adapters, replacement fasteners, fabricated brackets, and fitting labor from the final bill. Motorcycle accessories Philippines can vary in price, so price the whole job first. Ask what drilling, forced alignment, or structural mounting changes involve, and seek professional advice before altering anything carrying load or protecting the motorcycle. Modification can complicate returns once holes, trimmed parts, or marked fasteners make the item unused. Removal gets harder later. A universal part may still make sense when its hardware fits cleanly, but compare materials, labor, and return costs before choosing a lower price.
Add electrical accessories only after checking the load
Before buying auxiliary lights, USB chargers, or a powered phone mount, identify each accessory’s stated power draw and ask a qualified installer to check the motorcycle’s battery load where needed. Require a fused connection, weather-resistant connectors, protected cable routing, and a mounting point that cannot loosen under vibration. Rain exposure can corrode exposed joins, while daily movement may chafe cables against brackets or steering parts. A phone mount is not automatically a charging system, so confirm whether wiring, a charger, or both are included. Avoid improvised wiring, even if it looks tidy. Professional installation can add cost, but that expense belongs in the purchase decision.
Read the return terms before the box is opened
Before ordering, check the return deadline, unopened-item rules, restocking fees, and who pays return shipping. Save the listing, fitment confirmation, invoice, original packaging, and sealed hardware bags until the accessory fits and works correctly. After installation, confirm maintenance access for oil changes, chain service, seat removal, and battery access before discarding anything. Buy in stages: secure protection or mounting first, then add luggage, or electrical equipment after that installation has been checked. Cosmetic upgrades can wait until practical gaps are clear, reducing the chance of losing money on incompatible parts that cannot be returned later.
Conclusion
Begin with the exact bike and its configuration. Check first. At bigbike.tech, compare the complete purchase picture before choosing any part. Confirm fitment, then add brackets, adapters, mounting hardware, labor and installation charges to the listed price. Check luggage clearance around exhausts, racks, seats and moving controls before judging advertised capacity. Review electrical load, wiring needs, and the return conditions before opening packaging. That order helps compare ownership cost, not shelf price. Before ordering, ask the provider to confirm compatibility and every included hardware item for your motorcycle in writing.